In honor of Valentines Day I'm doing dessert! Todd loves a good cheesecake and it has been a while since I've made one. June of 2010 to be exact, when I made my Brother-in-laws tie-dye grooms (cheese) cake. I could have gone with plain, but I decided that a Mocha Cheesecake would be a great dessert and it would pair well with a pint of good porter.
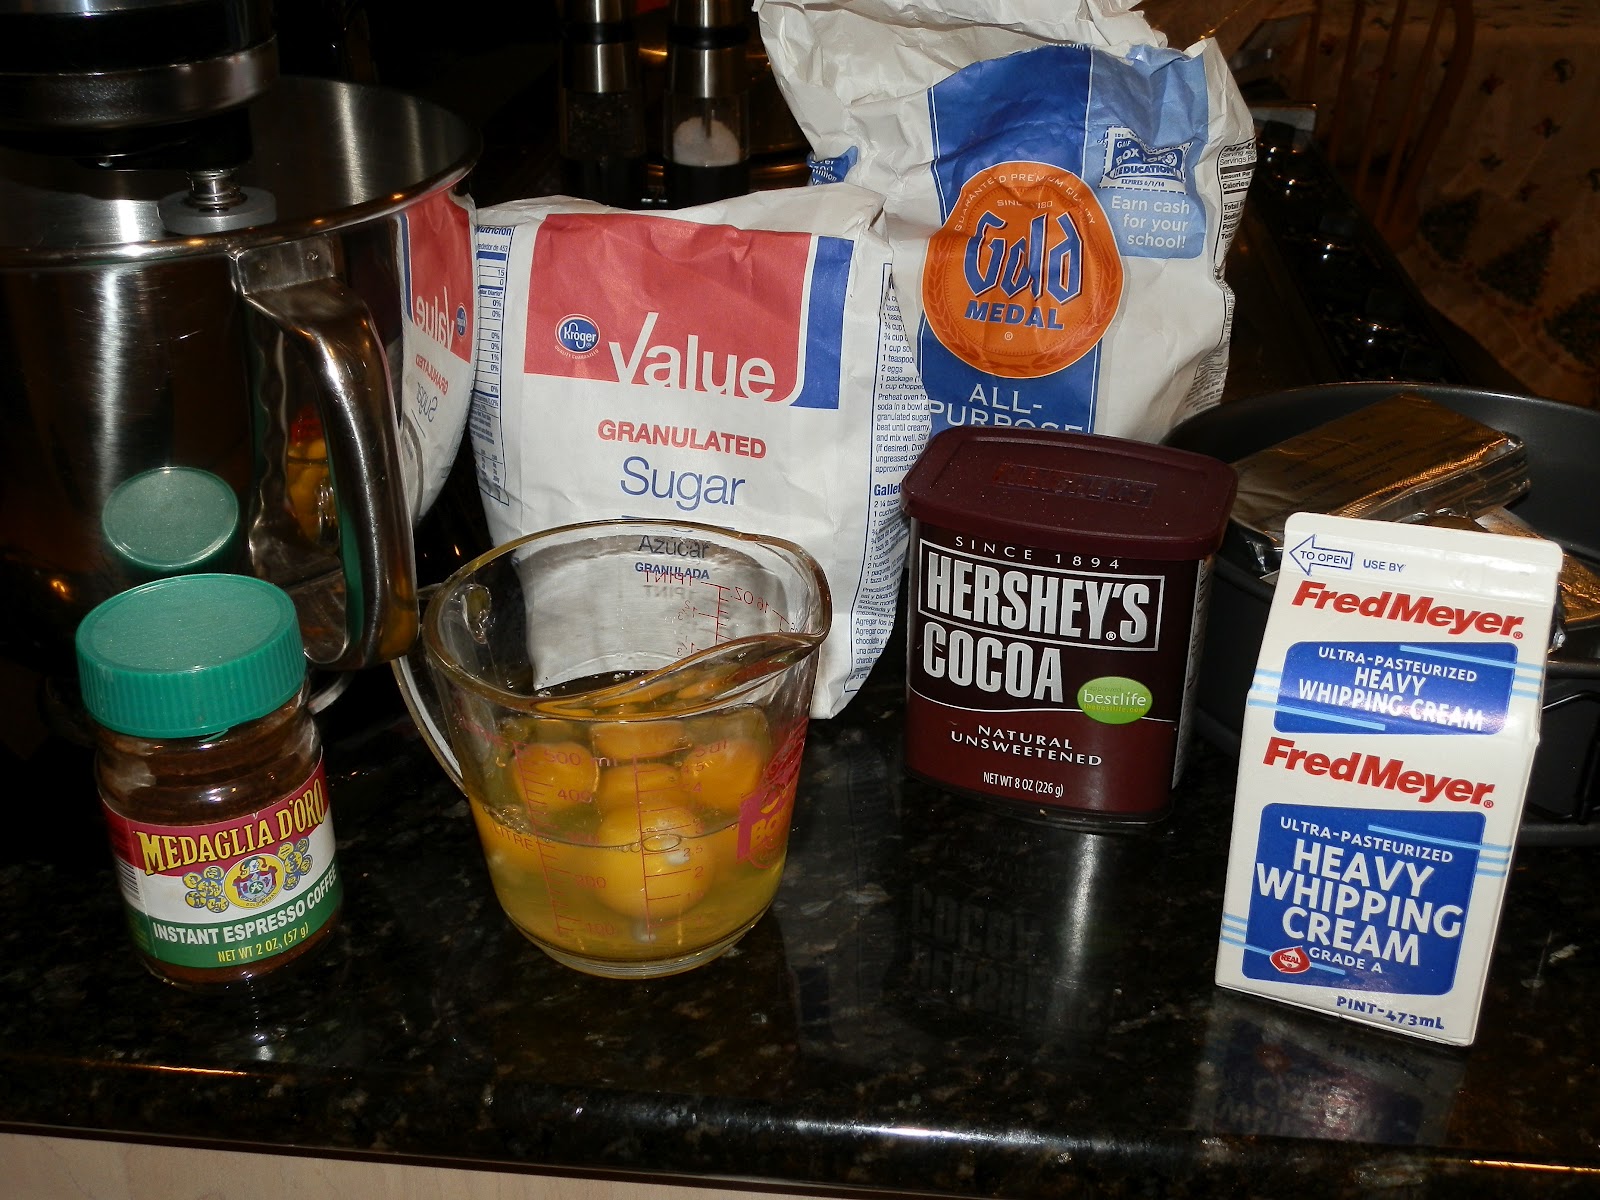
What you need:
32 Ounces cream
cheese, room temperature
1 Cup granulated white sugar
3 Tablespoons all purpose flour
5 Large eggs, room
temperature
1/3 Cup heavy whipping cream
1 Teaspoon of Vanilla Extract
2 Tablespoons of Cocoa Powder, sifted
2 Tablespoons Espresso Powder, sifted
First you want to preheat your oven to 350 degrees. Then begin by putting the cream cheese, sugar, and flour into your mixing bowl and beating on medium speed until
smooth (about 2 minutes). Scrape down the bowl as needed. Then one by one add the eggs, mixing well (about 30 seconds) after each one is added. Next scrape down the sides of the bowl and add the whipping cream and vanilla extract and beat until mixed well. Now here is where I removed 1/3 cup of the batter to use in my heart design. If you don't want to make a design then at this point add the cocoa and espresso powders. Mix in and let sit for 5 minutes, then mix again - the espresso powder needs a few minutes to dissolve. If you haven't heard of espresso powder, this is what you're looking for.

Next pour your batter into a spring-form pan that the bottom has been covered in foil, about halfway up the side and lined with parchment paper. Yes, there is no crust for this cheesecake, Todd prefers it that way. If you want a crust feel free to add one; either a graham cracker or oreo one would work well. Tap the pan a little to even out the batter and then if you want to do a design now is the time. My "hearts" were made my dropping a dollop of batter onto the top and pulling a toothpick or skewer through the top to form a heart - EASY!

When ready place the foil covered pan onto a baking pan and when you put it in the oven, pour about 1-2 cups of water around it. The foil will keep the water out of the pan, but keep the cheesecake moist and prevent the top from cracking. Bake for 15
minutes at 350 and then lower the oven temperature to 250 degrees. Cook another 60 - 90 minutes or until firm and only the center of the cheesecake looks a little wobbly. Mine went for 70 minutes, but ovens vary so yours may take longer.

When done baking you want to refrigerate this for at least 3-4 hours until chilled. Then to serve I usually run a knife around the edge of the pan and then release the spring. The cheesecake should come out easily, so all you need to do is slice and serve. If you want to dress it up a bit you could grate some chocolate over it and add a little fresh whipped cream, but truthfully it's perfect on its own.


A few items worth noting:
- Obviously a spring-form pan is needed and here is a great deal on 3 heavy-weight ones. I only have the middle one, but it would be nice to have a choice in size.
- Parchment paper is great for when you don't have a crust, it allows for easy removal from the pan base.
- For grating things very fine, like chocolate, I suggest having a microplane. It has many uses and worth having in the kitchen.
And just because I loved how this one turned out, here is the tie-dye grooms cheesecake that I mentioned I made earlier. It was a hit!

No comments:
Post a Comment